Generate AI Art with "Hidden" Text/Image using Stable Diffusion and ControlNet
This tutorial shows how to generate AI art with "hidden" text/image using Takin.AI and Stable Diffusion WebUI. As shown in the following example, you can clearly see "New York" when viewing the image in distance but the text is hardly seen when zoomed in.
This tutorial can also be applied to generate art with hidden images. Take a look at the picture below in the distance and you should be able to spot 'the Girl with a Pearl Earring'.
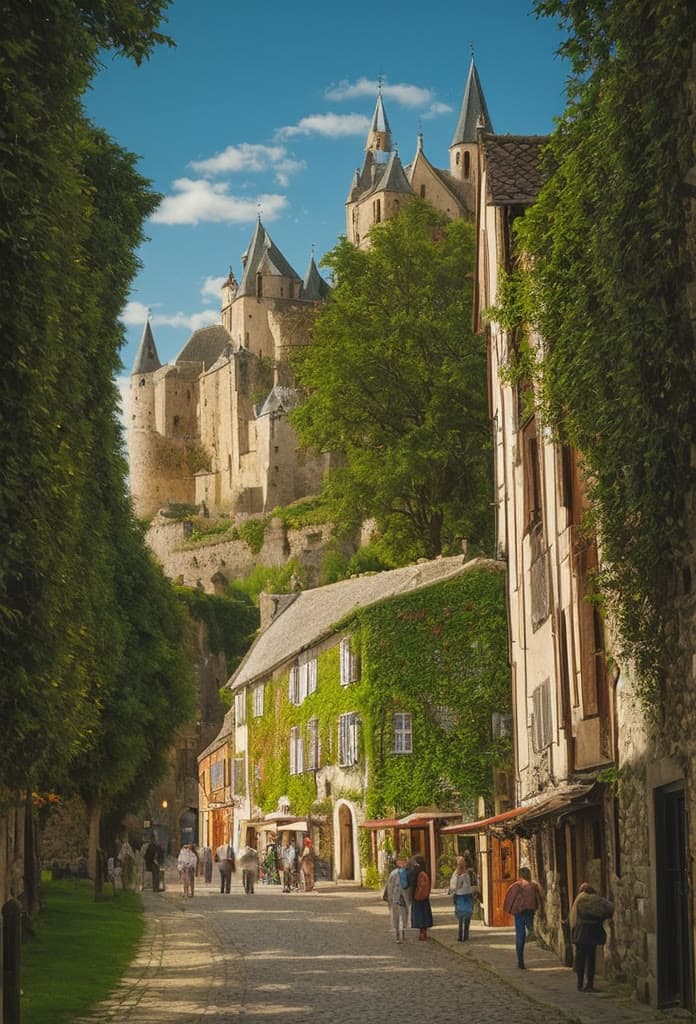
Image generation by Takin.AI
It's very simple to generate hidden text and hidden image by Takin.AI. You can select "Tumo" in the apps:
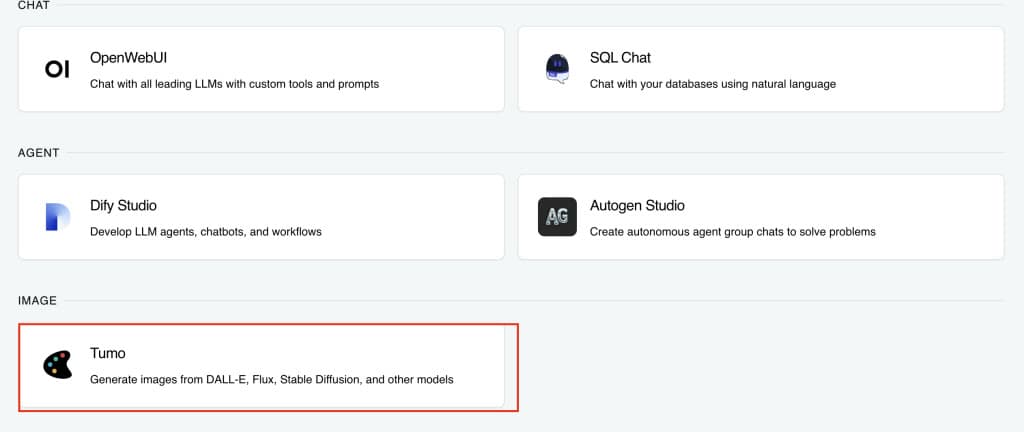
Then choose hidden art from Tool:
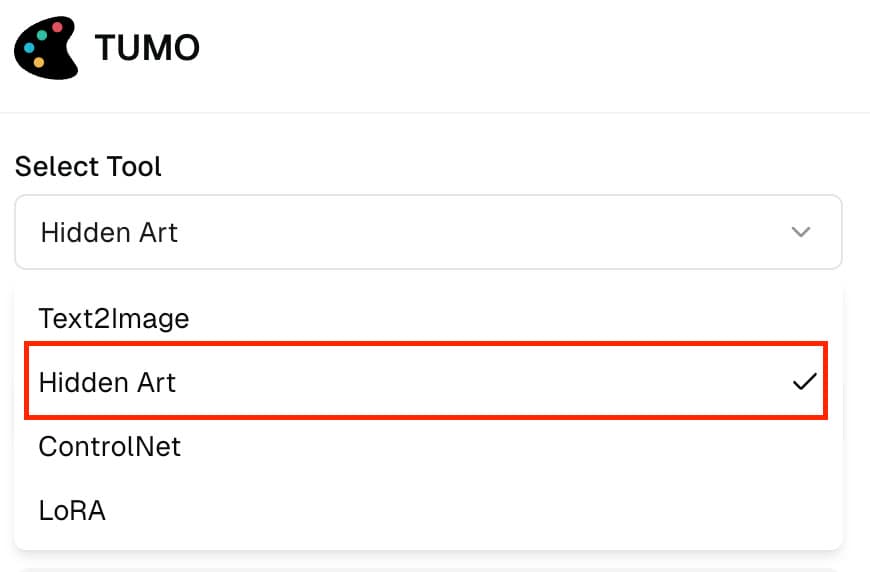
Input your text or upload your image and adjust the parameters to match your preferences.
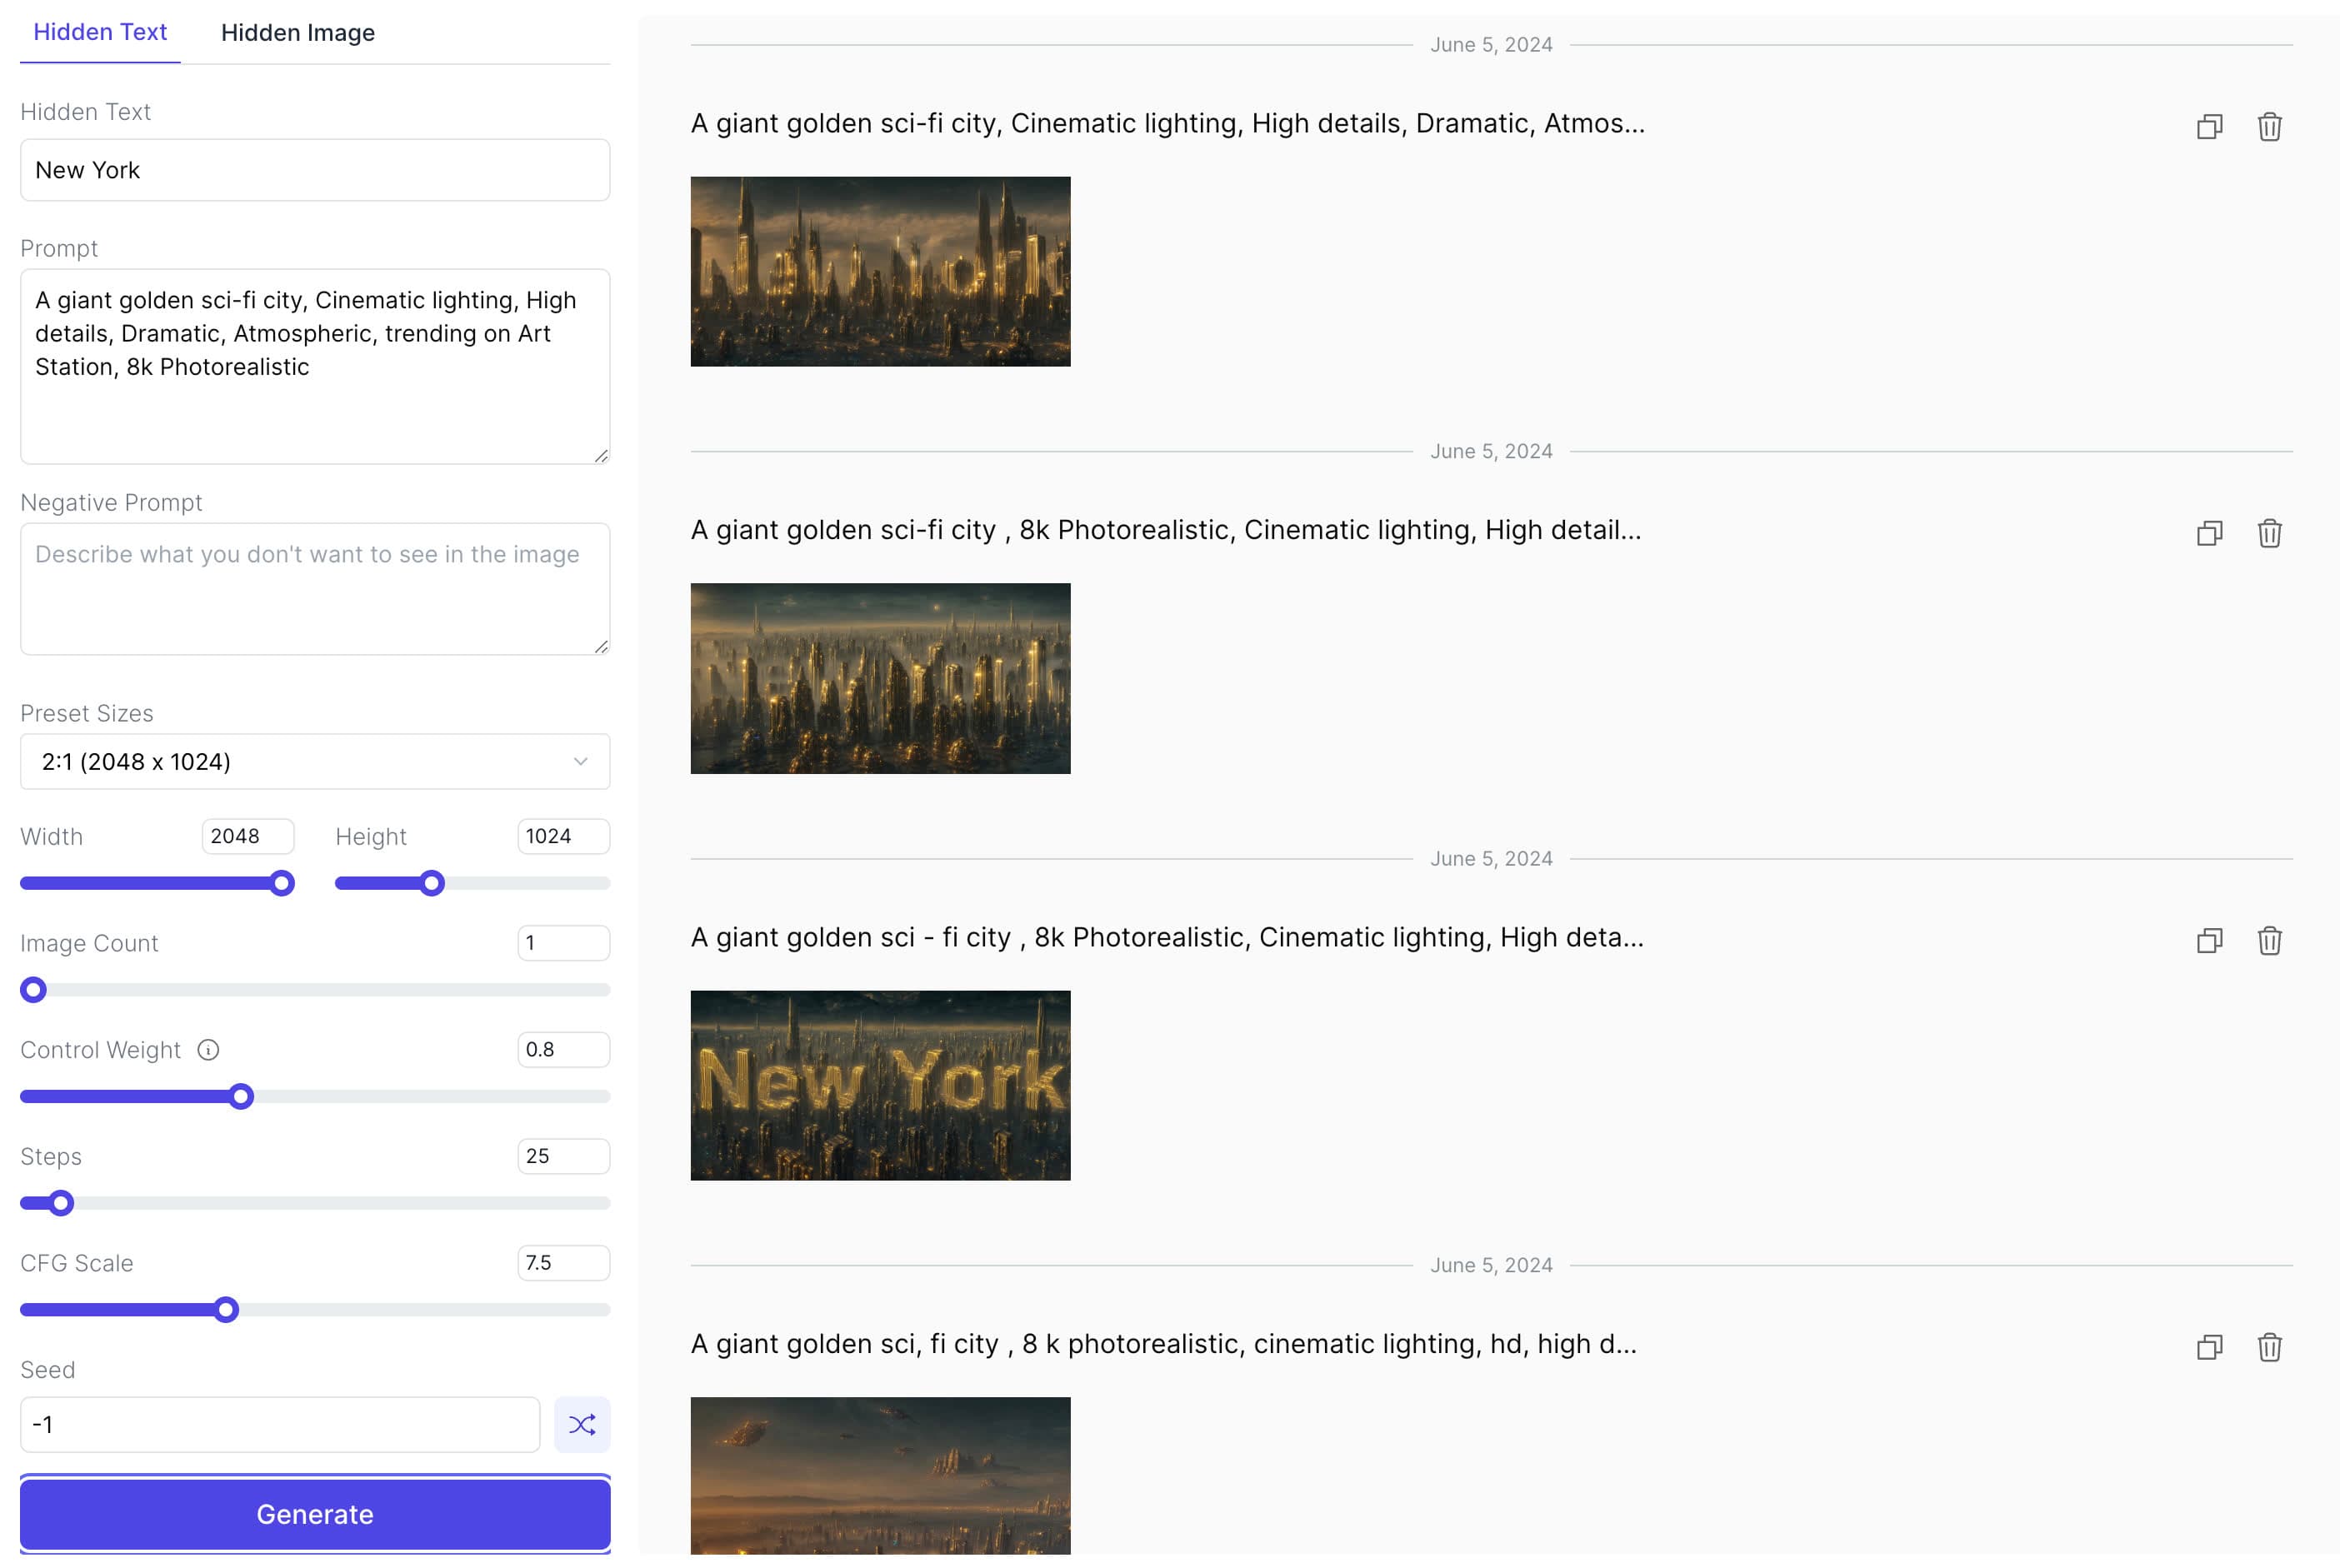
Generate hidden text
You can adjust the parameters to compare the generated images and select your favorite.
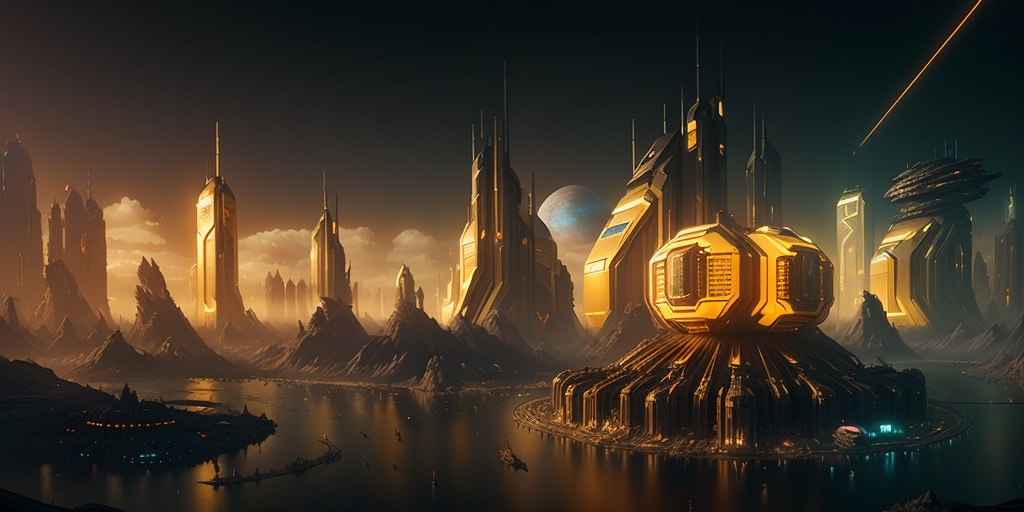
We used the following prompt:
A giant golden sci-fi city, Cinematic lighting, High details, Dramatic, Atmospheric, trending on Art Station, 8k Photorealistic
Generate hidden image
Here's the prompt for your reference:
Medieval village scene with busy streets and castle in the distance
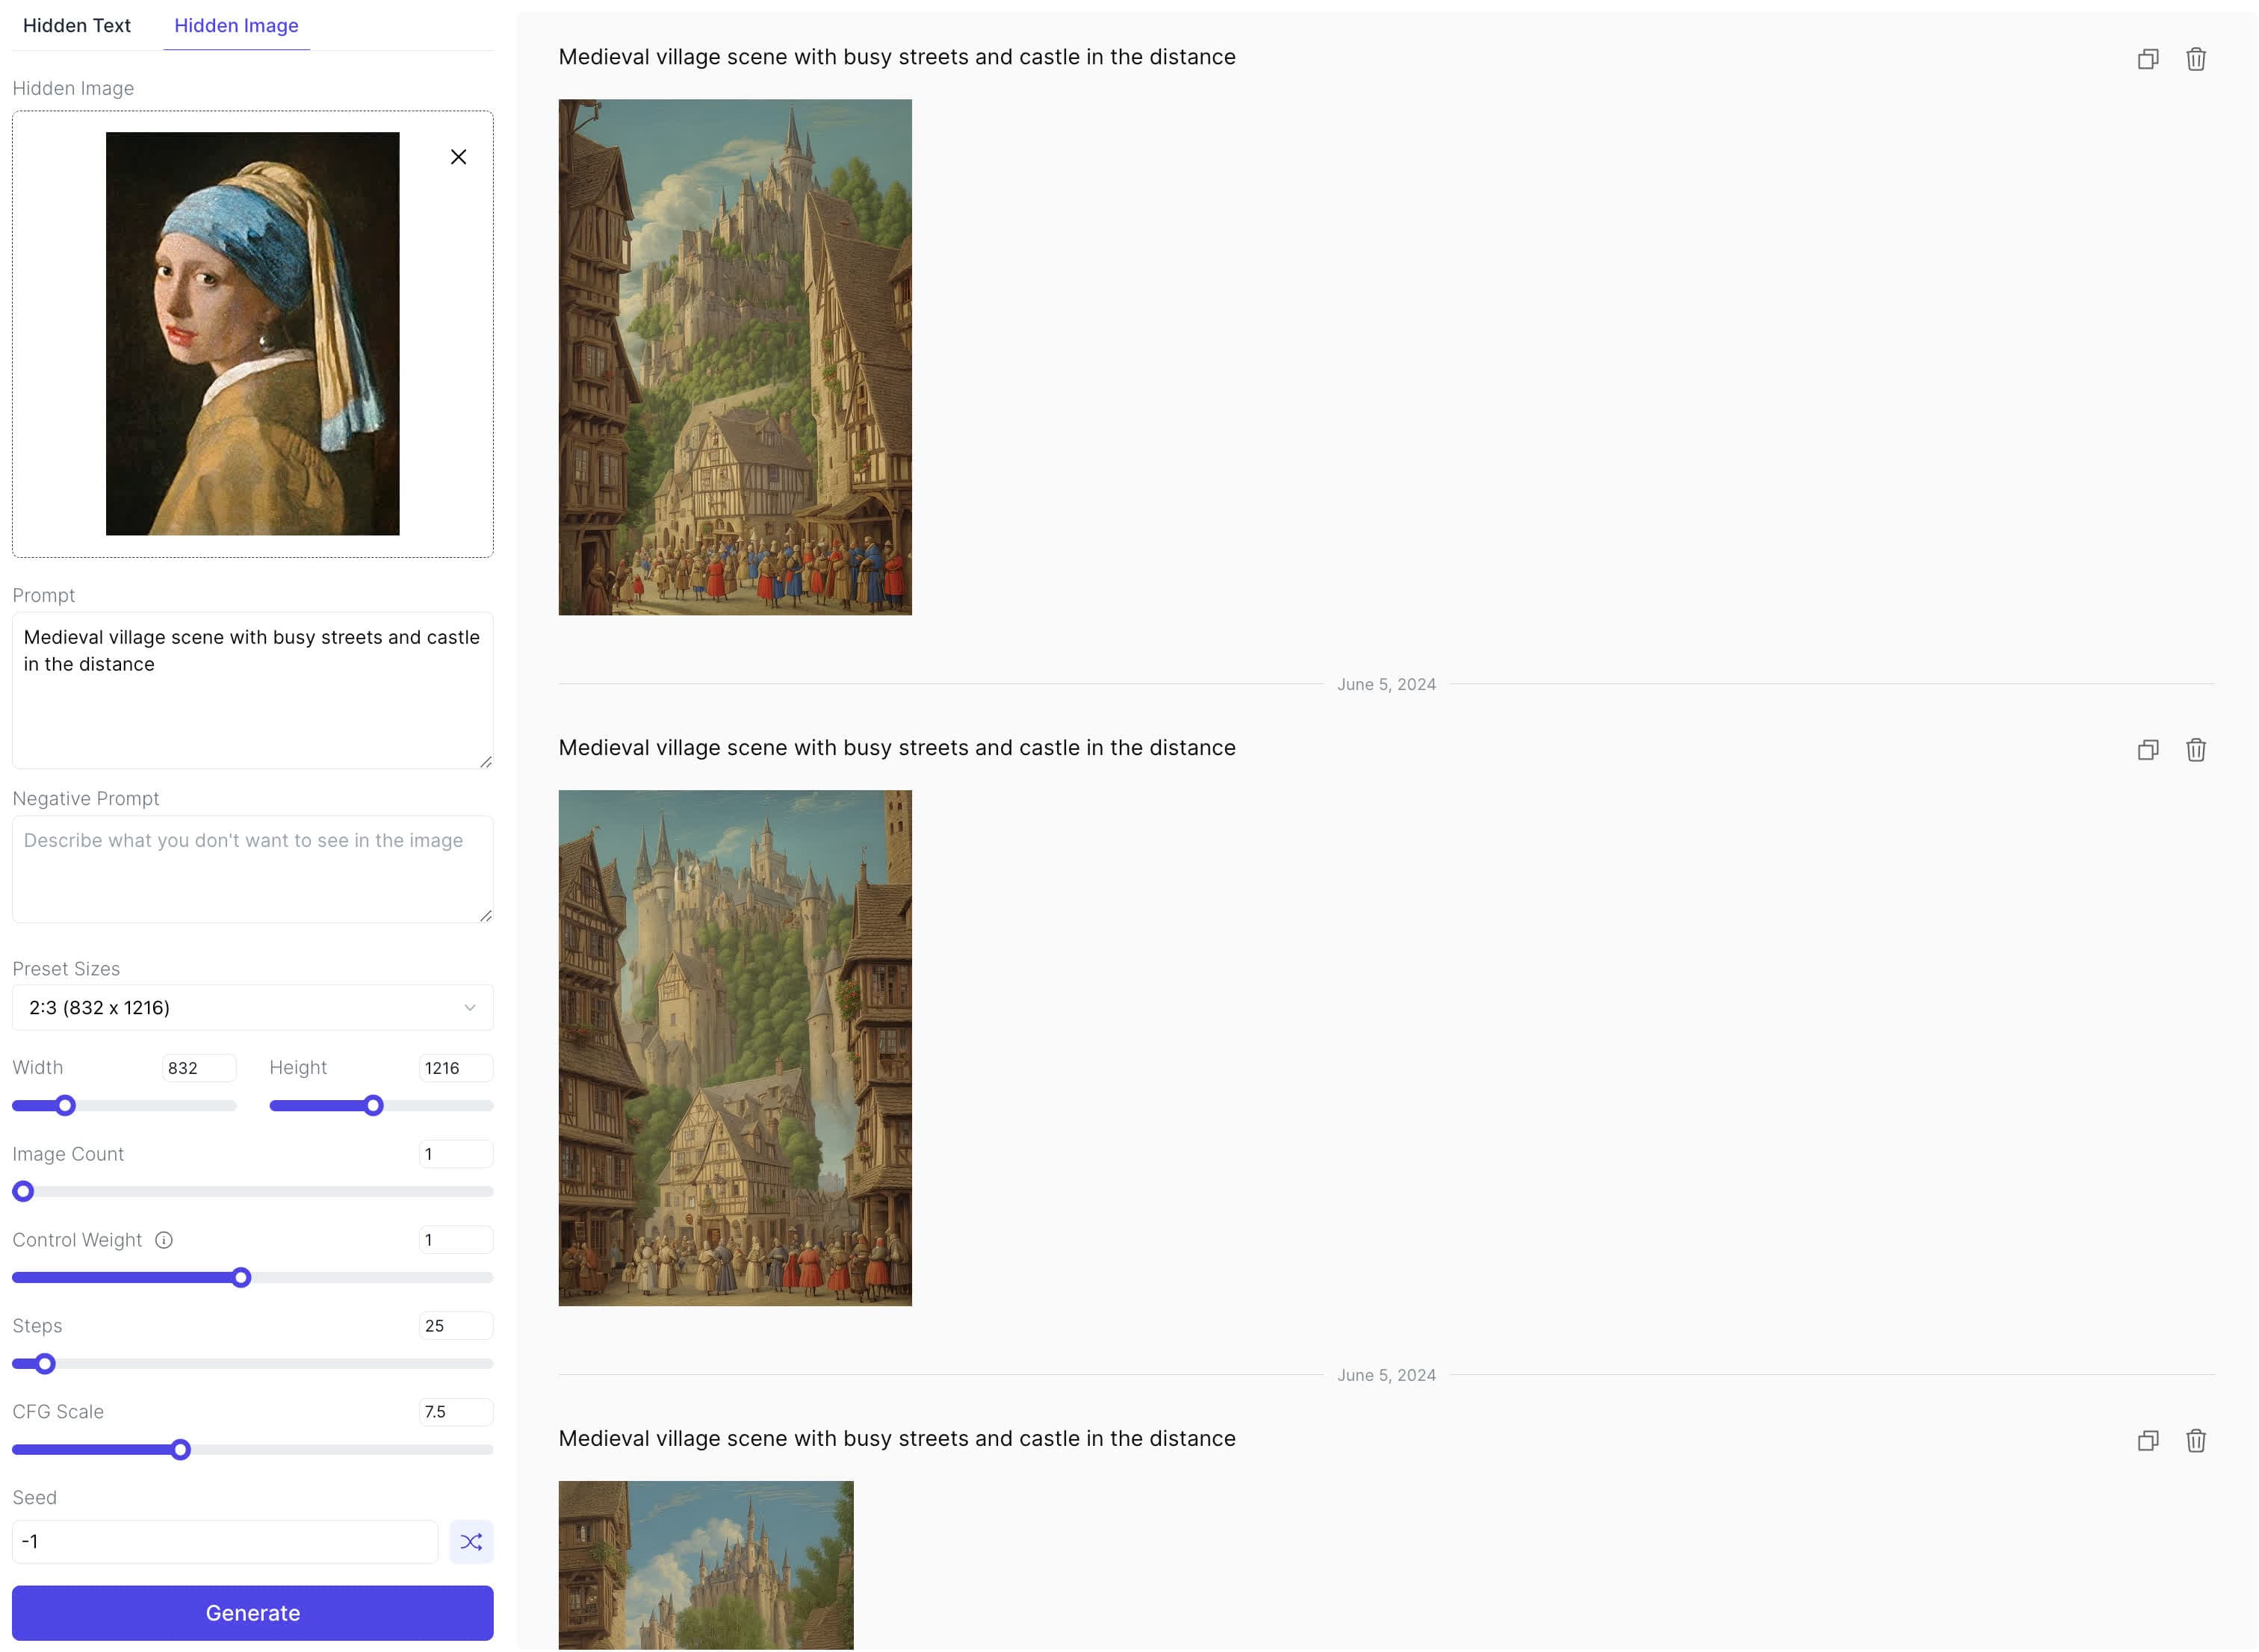
Image generation by WebUI
If you are using Stable Diffusion WebUI, there are only three simple steps to complete the image generation:
- create an image file with text you want, e.g., New York, Shanghai, etc. or find a reference image.
- load a ControlNet QR Code model
- choose a prompt and generate
The details are as follows.
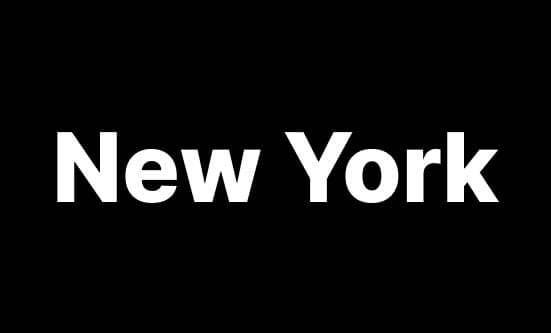
You can use https://www.imagetotext.info/text-to-image or any image editing tool to create an image file with text as the one below (right click to save for this tutorial):
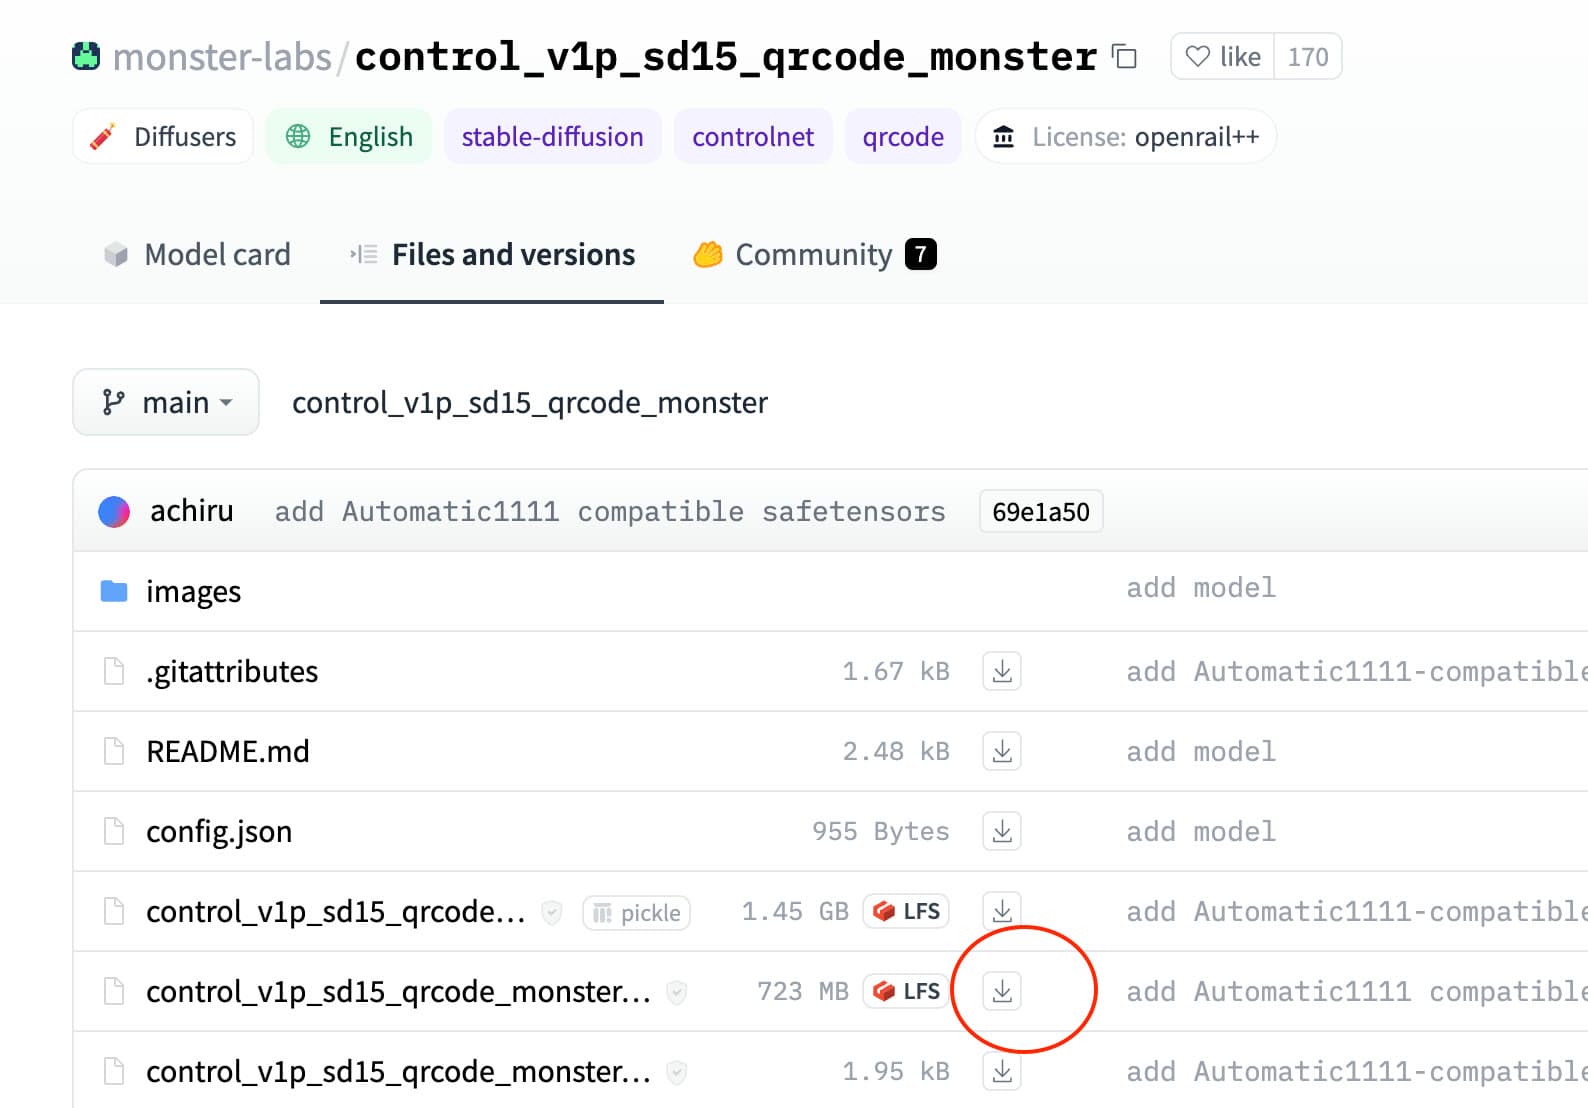
Install ControlNet and add control_v1p_sd15_qrcode_monster.safetensors model from this repo. You can follow our tutorial on ControlNet installation for this step.
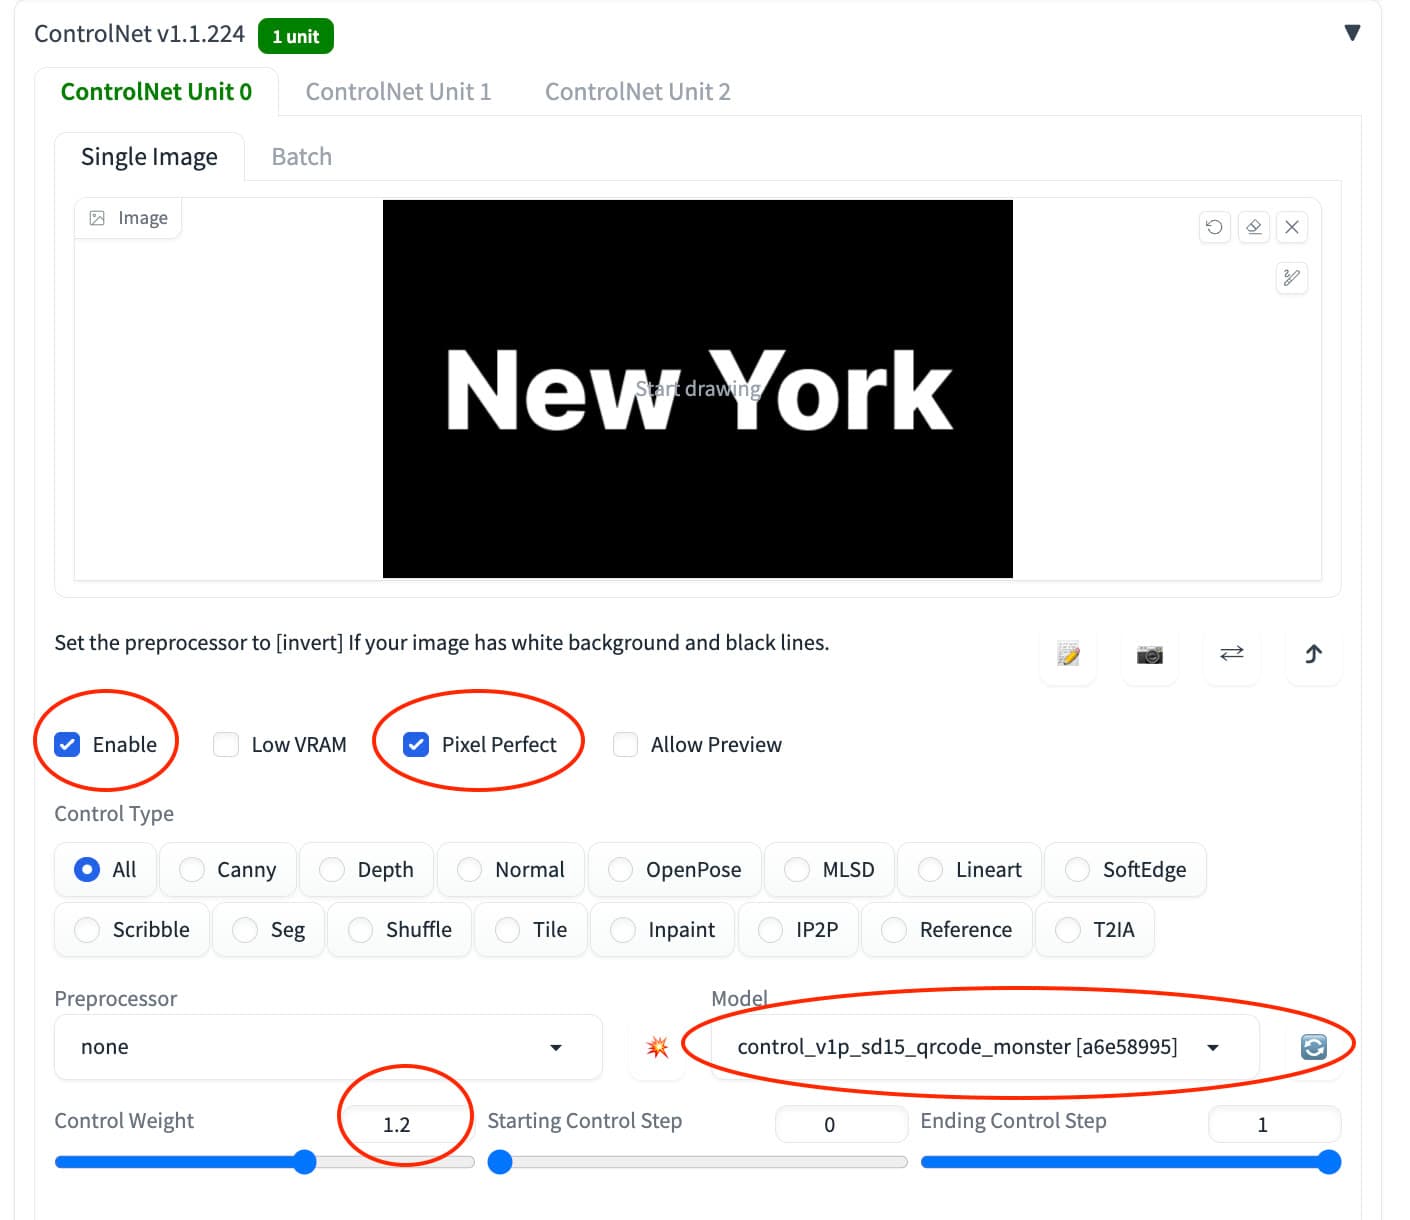
Load the text image file and qr-code ControlNet model and configure ControlNet as shown below:
Then, enter a prompt and generation parameters to generate the images. Note that deliberate_v2 was used as the base model.
And the generation parameters are shown below:
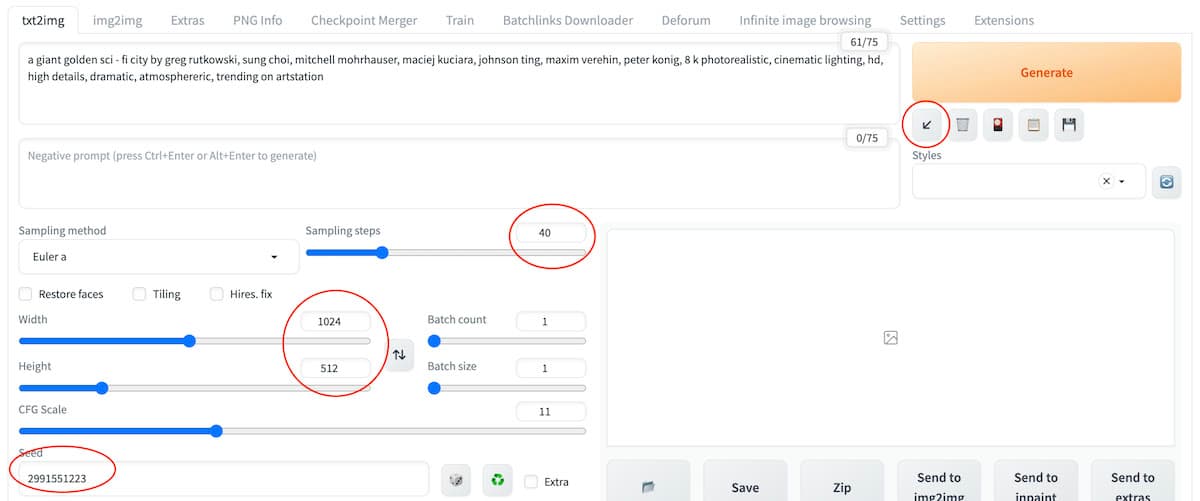
You can try to set the seed to random (-1) and generate more images to choose the one you like — that's it!
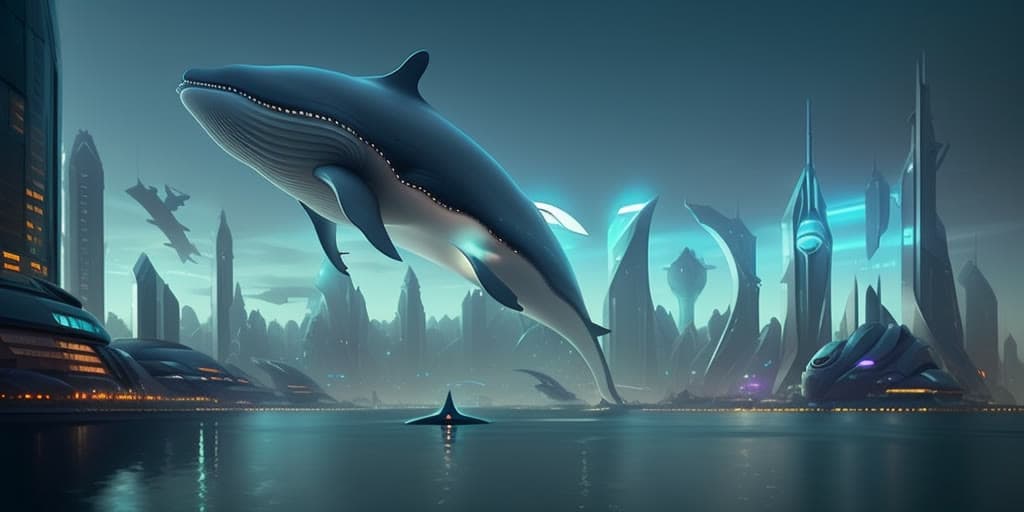
As a practice, try the following prompt:
a science-fiction city by the lake, with gigantic futuristic buildings, a whale in the sky, midnight, andreas rocha, krenz cushart, artstation, concept art, smooth, sharp focus, 8k, octane render, volumetric, vivid, beautiful, hyperrealism, pearlescent, reflective, shimmering, highly detailed
You should get an image similar to the one below:
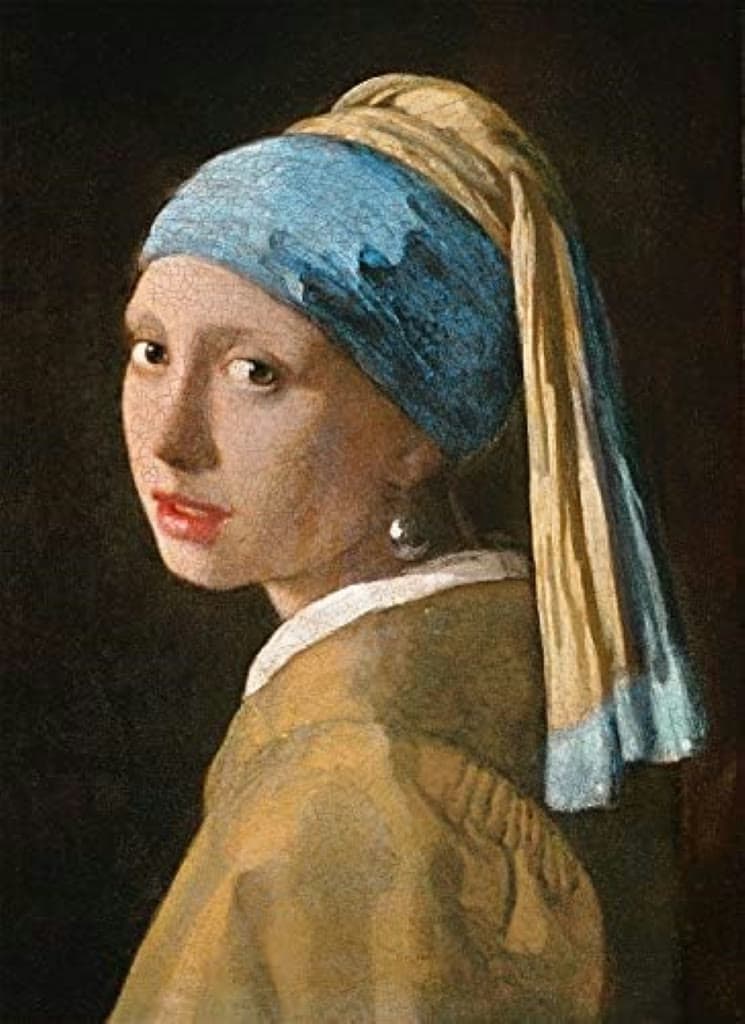
Compared to hidden text, it's easier to generate hidden image. Instead of creating an image file with text in step 2, you only need to find an image and upload to ControlNet.
Here you can right click this image to save for this tutorial.
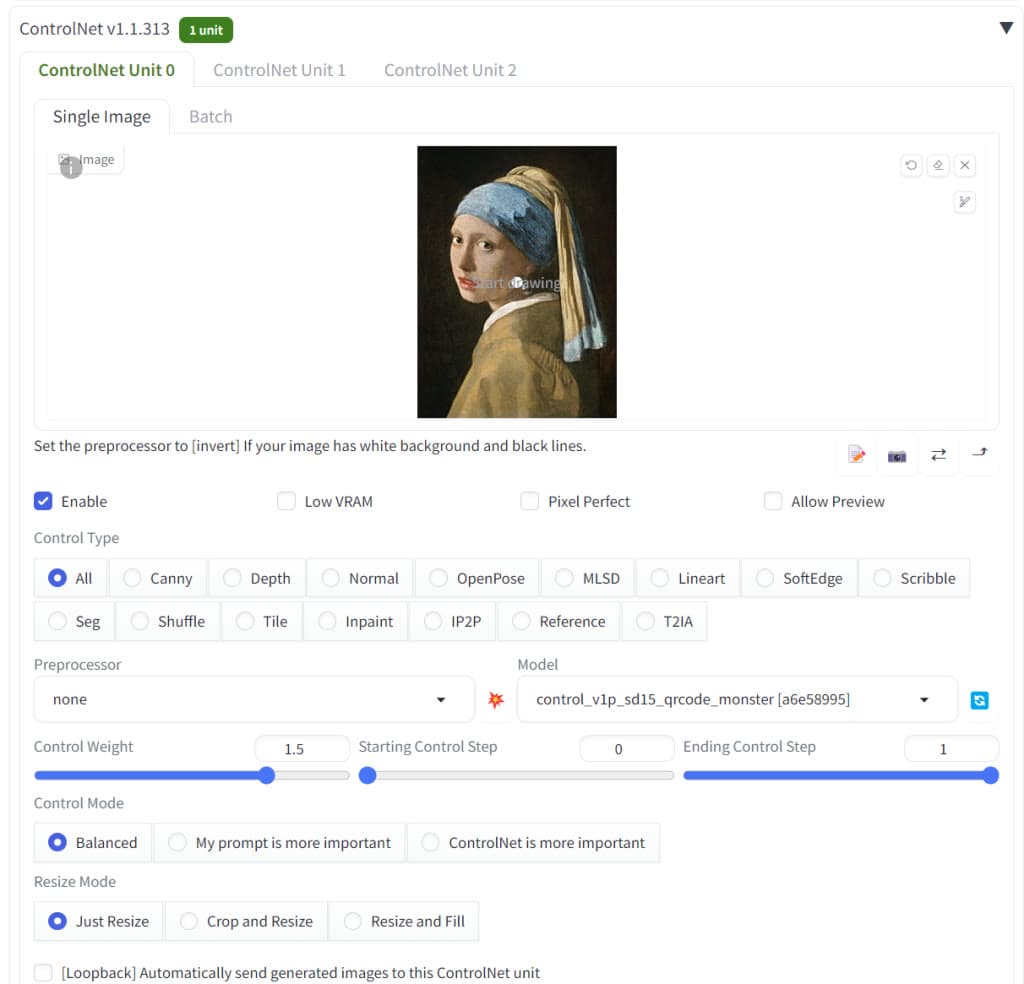
You can adjust the control weight to your preference.
As practice, you can try to create a spiral town using the following prompt and image:
Prompt: A Renaissance-era ancient town, busy street in distance
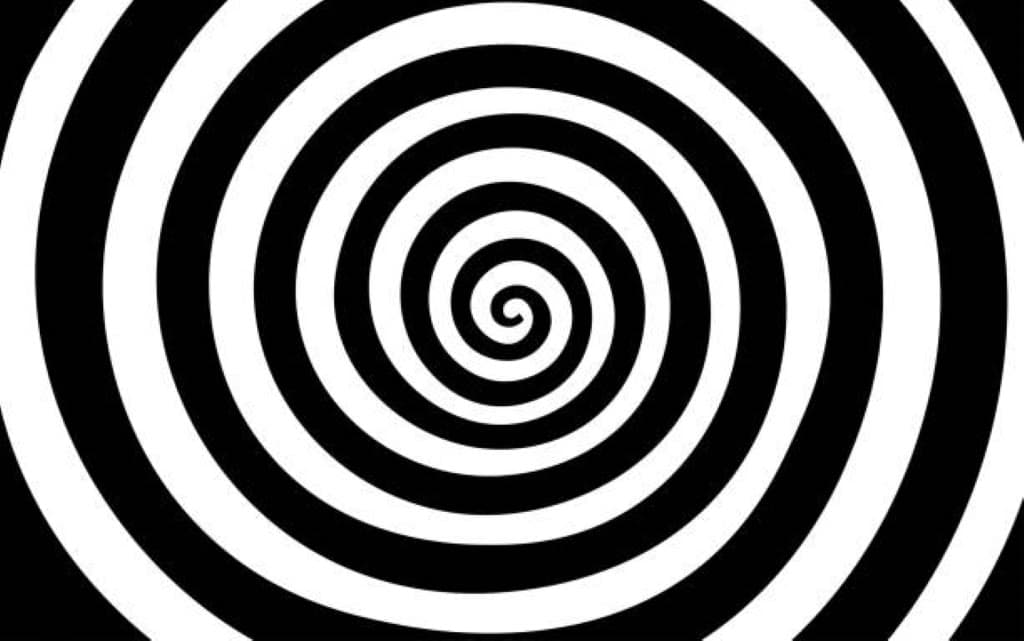
You should get an image similar to this:
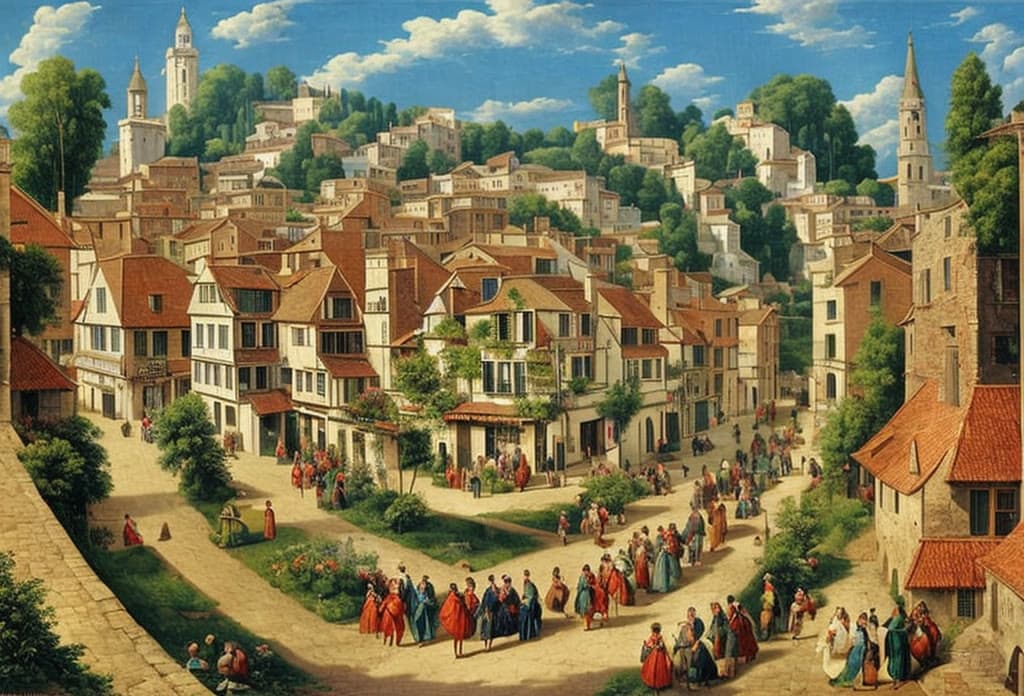
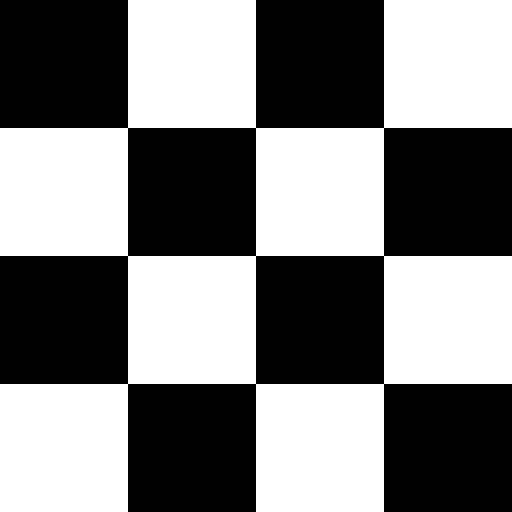
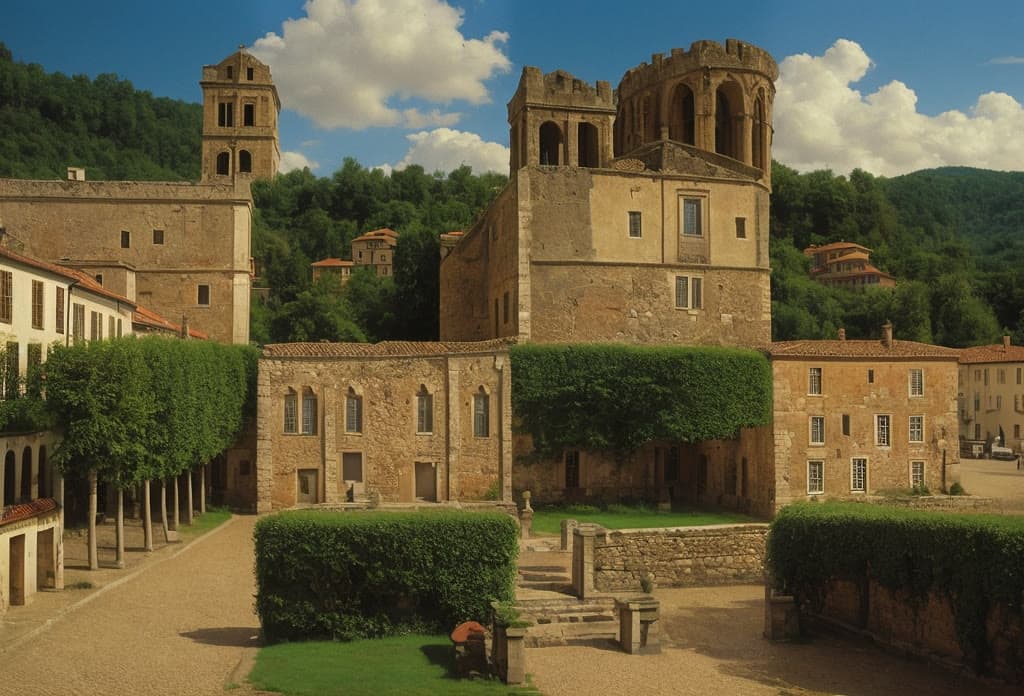
Or a checkerboard town:
Prompt: Renaissance-era ancient town